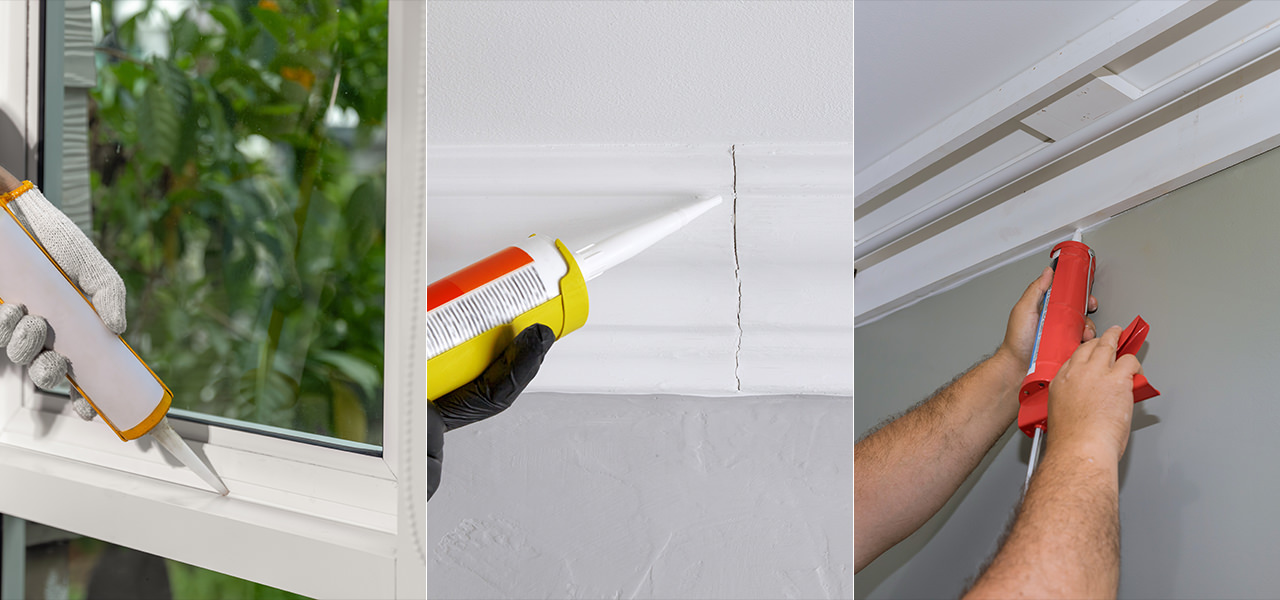
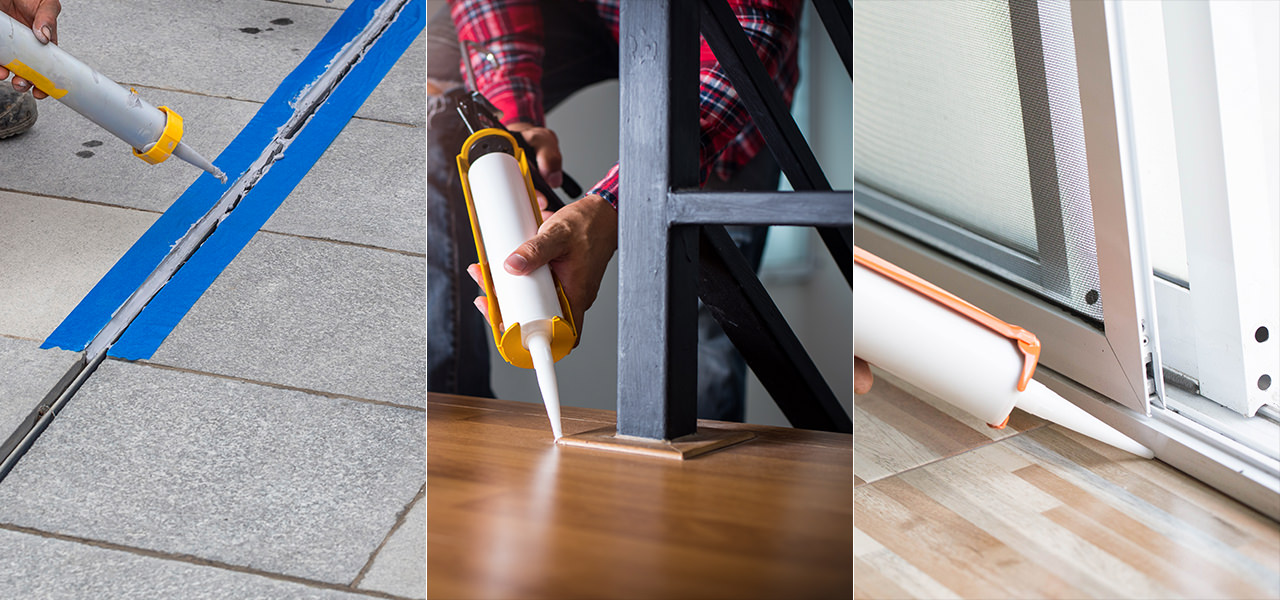
Sealants are used in building and construction work for many purposes: essentially to fill gaps, which can be for providing structural integrity, preventing leaks of liquid or air, and cosmetic caulking. Common uses for sealants include expansion joints in brickwork, weather-sealing in the installation of doors and windows, kitchen fitting, bathroom sanitary ware and flooring.
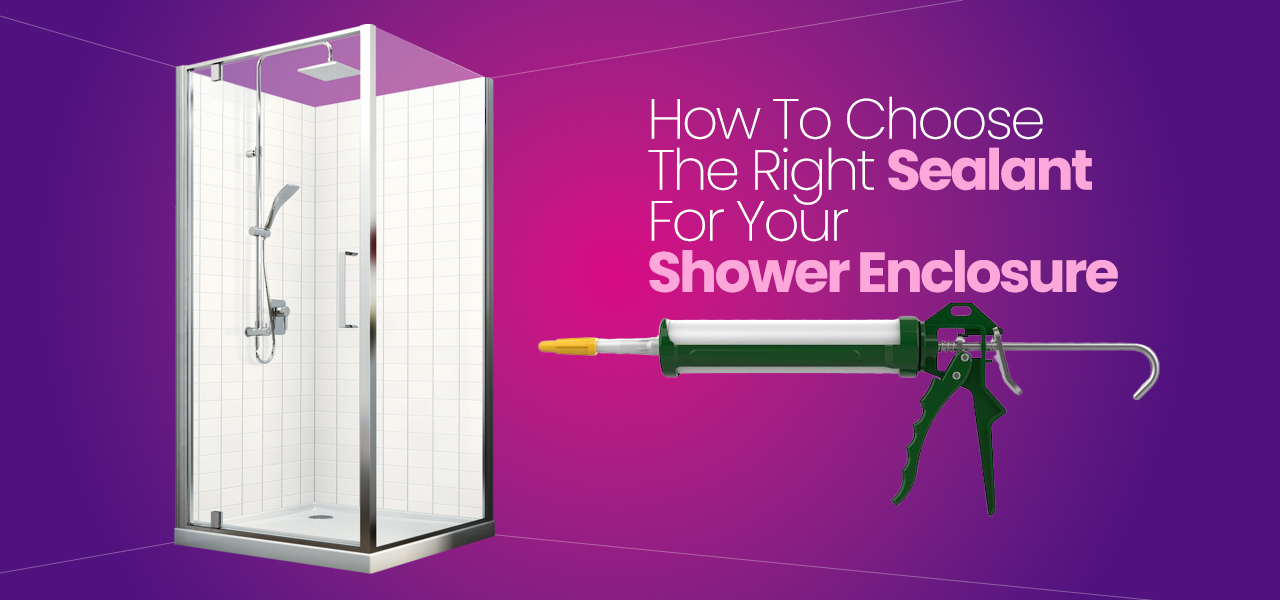
When installing a shower enclosure, probably the most important stage is sealing to ensure the expected performance from your enclosure. Selecting the correct sealant ensures durability, waterproofing, and resistance against mould and mildew. If you are planning to install the enclosure without professional assistance then you can face issues without the right kind of sealant. In this article, we explore different sealants with a step-by-step approach to help you choose the right sealant.
Why the Right Sealant Matters for Shower Enclosures
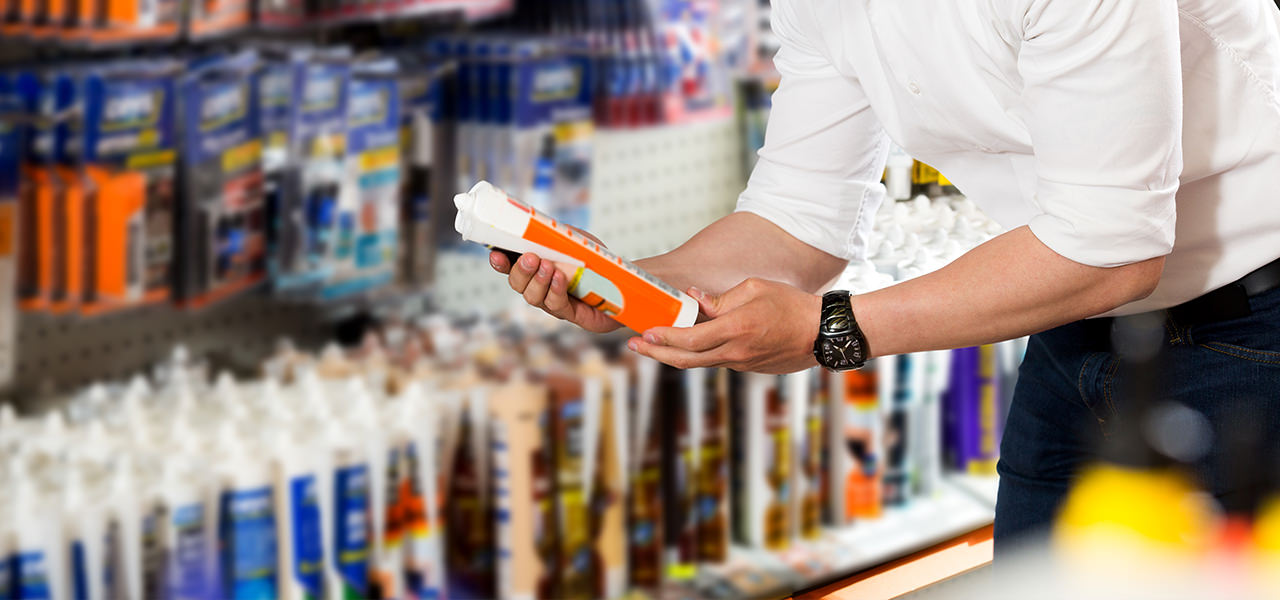
Sealants (also known as caulk or mastic) come in a variety of substances for different uses. From lightweight decorating caulks to outdoor polysulfides, choosing the right product depends on the project at hand. A high-quality sealant not only maintains the functionality of the enclosure but also its visual appeal. Sealants are available in white, clear or a range of colours (great for swimming pool sealing, kitchens, bathrooms or shower enclosures). They are most commonly supplied ready mixed in a tube, making them easy to use with an extrusion gun.
Factors to Consider When Choosing a Sealant
If you want durability, functionality and a professional finish, look for certain non-negotiable properties.
- Should have good adhesion properties to 'stick' well to the substrate material (glass, tile, ceramic).
- Makes the enclosure watertight to prevent leakage and water damage.
- Durability, to resist deterioration such as through contact with water, bacteria and mould.
- Resist weathering, UV rays and wear and tear, allowing a long life once in position.
- Elasticity to permit flexibility of movement cohesion.
- Keeps repairs and related expenses in check.
- Performs even in high-moisture environments.
- Keep their form once in place without splitting or flaking.
- The product should not change colour over time.
On the other hand, the wrong sealant can cause leaks and damage to surrounding walls and flooring, creating frequent resealing situations.
Types of Sealants for Shower Enclosures
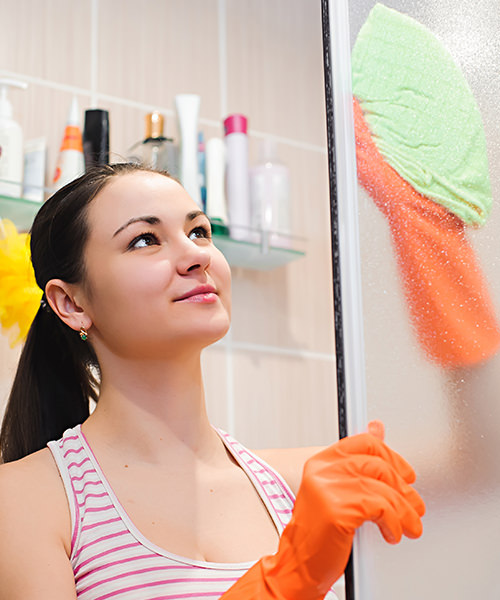
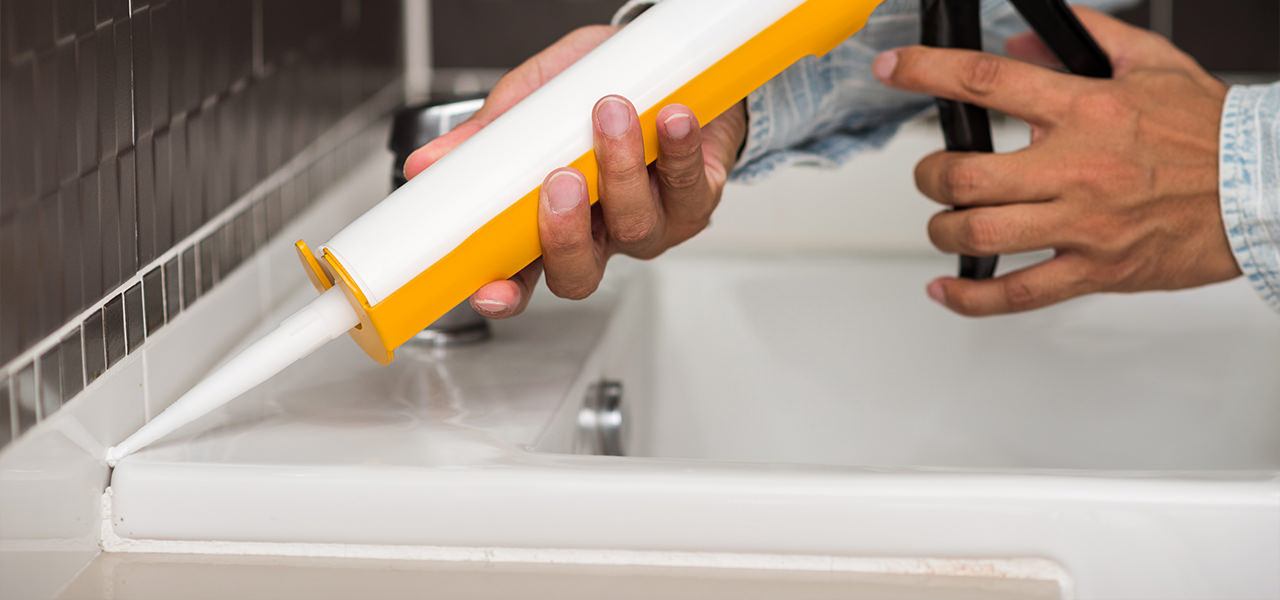
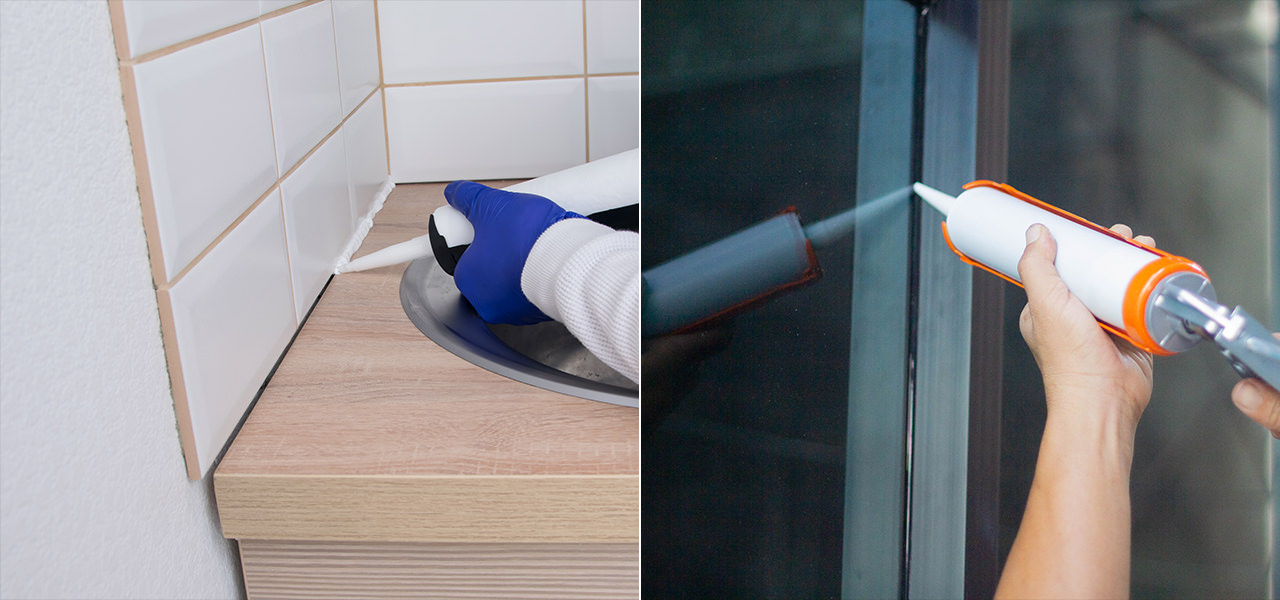
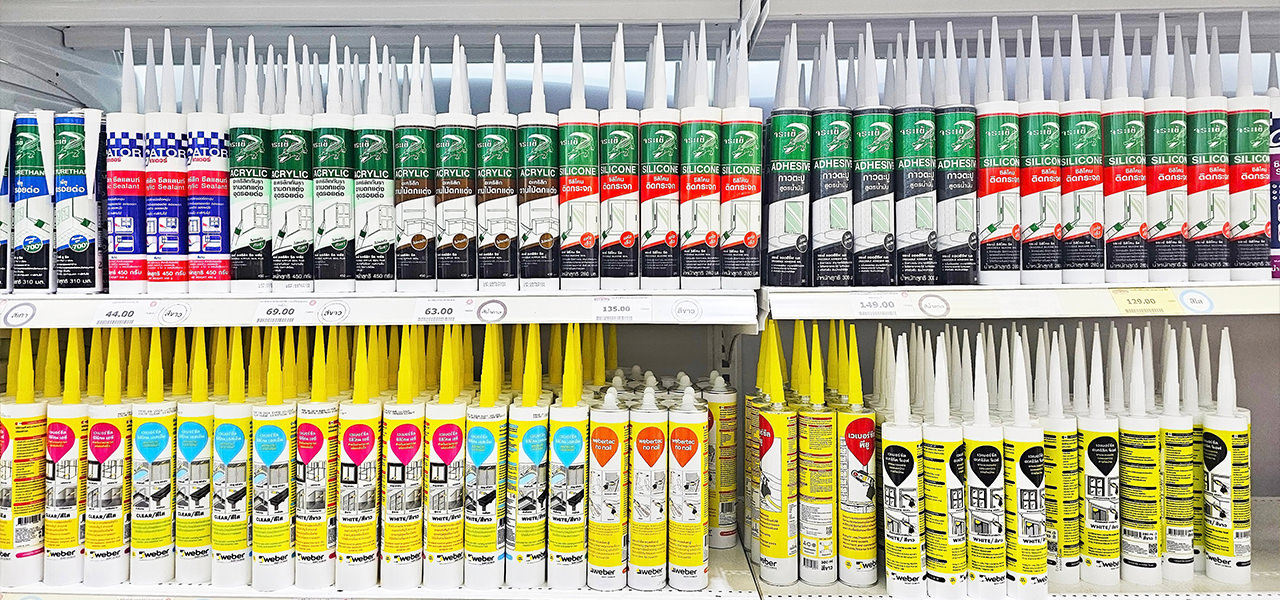 Editorial credit: KHUNNINE / Shutterstock.com
There are many different sealant types available, each having a set of unique properties. These include acrylic, silicone, hybrid and special sealants. A good sealant satisfies the following requirements:
- The product must have just the right viscosity, not too runny or too thick, so that application is easy and effective.
- The product's packaging is equally important; it must come in cartridge form, compatible with standard applicators, for smooth dispensing.
- The sealant must be fast-curing as most busy households don't have the luxury of extended drying time in such frequent-use spaces.
- Lastly, the sealant must have clear labelling and instructions, helping users get the best results from their purchase.
Multi-Purpose Sealants
Multi-purpose sealants are designed to perform well under a range of conditions. Some are especially useful for filling gaps and can be painted over if required. Most kitchen and bathroom sealants are silicone-based, giving great flexibility and wear resistance. They are typically formulated to have antibacterial or anti-fungal properties to resist mould growth. Their excellent adhesive properties mean that some multi-purpose sealants can also be used to glue a range of materials into position.
Properties of Silicone-based Sealants
These are the most commonly used in moisture-laden environments like showers and bathrooms. They don't just seal but do so with a pleasing aesthetic finish. Silicone sealants have the following properties:
- Flexibility, high elasticity even after curing, resistant to cracking when expanded or contracted.
- Adhere strongly with almost all kinds of materials from glass and metal to ceramics, and other porous and non-porous surfaces.
- Can resist temperature fluctuations, UV rays and harsh weather without degrading.
- Very resistant to mould and mildew as most are formulated with built-in anti-fungal properties, for a high level of hygiene in humid areas.
- Electrical insulation properties make them useful for sealing and protecting components within electronics.
- Their heat-resistant nature makes them suitable for industrial and automotive applications.
Cons of Silicone-based Sealants:
- It bonds so strongly that removing leftover sealant after drying or for resealing purposes can become a difficult task. Another drawback is that most silicone sealants cannot be painted over.
Acrylic sealants and their properties
Acrylic sealants are usually obtained from water-based acrylic resins and therefore are not suitable for use in moisture-laden environments like bathrooms and kitchens. However, it is a great choice for decorative purposes as it allows painting over to achieve an aesthetically pleasing finish.
- Acrylic sealant offers good fluidity in a wide temperature range, elasticity and resistance to weather changes upon curing.
- It cures rapidly and offers good air permeability so the seal dries quickly with a clean finish.
- Simple to apply with a caulking gun, their water-based formulation makes it easy to wipe off the excess.
- It adheres well to a host of materials like wood, plaster, concrete, and drywall.
- It is safe, non-toxic, non-flammable and volatile. Its low VOC makes it an environment-friendly choice and a safe bet for use in indoor applications and in enclosed spaces.
- They are cheaper than silicone or polyurethane sealants, so suitable for all budgets.
Cons of Acrylic Sealants:
- When compared to silicone-based choices, acrylic sealants have low flexibility, so they have a tendency to crack in high-movement areas.
- Being water-based, acrylic sealants do not last as long as silicone or polyurethane-based formulations, especially in outdoor environments. These may have to be frequently reapplied. To make them endure, they must be coated with paint or lacquer.
- They may shrink or lose adhesion when exposed to extreme heat or cold.
Properties of Hybrid Polymer Sealants
True to their name, hybrid polymer sealants combine silicone and polyurethane or some kind of acrylic technology, lending the sealant unique properties. This makes them extremely versatile in use and an effective formulation for a number of applications and conditions.
- Hybrid polymer sealants have excellent adhesion properties, binding a great number of substrates, both wet and dry.
- It is flexible and elastic, so it allows joint movement without shrinking, breaking or developing cracks. It remains elastic even with the passage of time, and under extreme temperature fluctuations.
- Unlike silicone sealants, the hybrid variety can be painted over easily to match the rest of the substrate.
- They are CARB VOC-compliant products, emitting low fumes, safe for health and the environment. These low or no odour compounds with solvent-free formulations, are often safe for indoor use.
- They won't turn yellow or discolour over time.
- They have anti-sagging properties, retaining their shape over time.
- They are formulated without solvents and isocyanates and are simple to apply.
- UV resistance, anti-weathering, anti-ageing and harsh chemical resistance make them useful for external applications.
- They offer chemical & water resistance, so they are appropriate for use in bathrooms and kitchens with durability.
- Some hybrid formulas also resist oils, solvents, and even mild acids.
- Antimicrobial additives make these resistant to the growth of mould and mildew.
- On the downside, their unique properties mean they cost more.
Properties of Specialty Glass or Tile Sealants
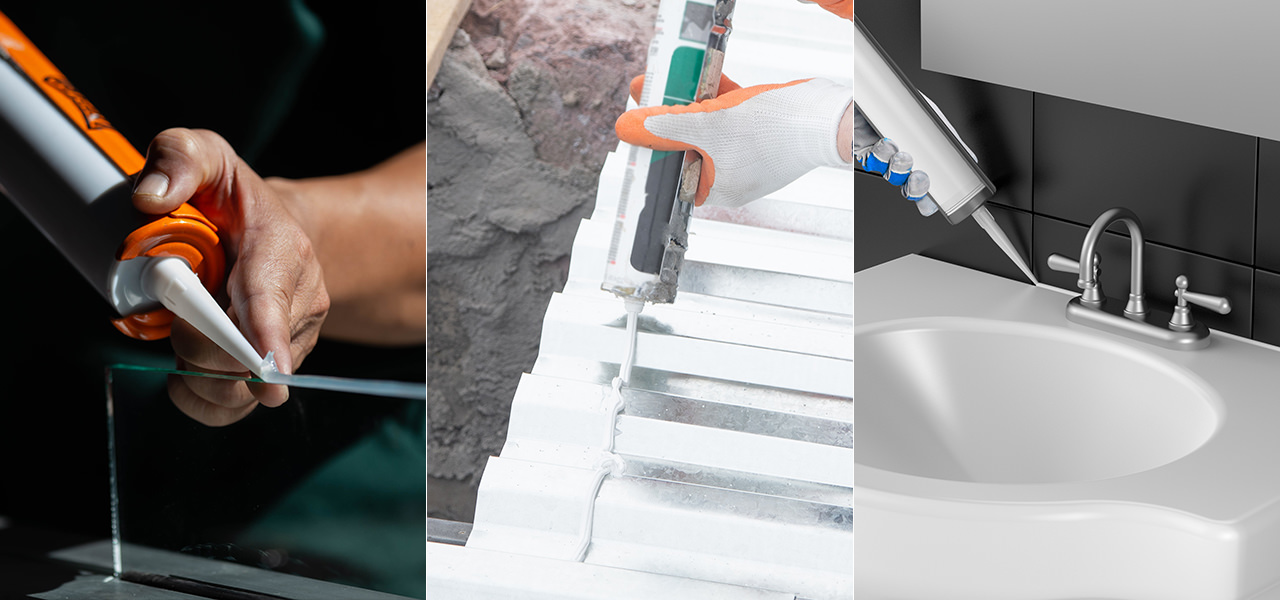
Bonding to smooth, non-porous surfaces like tile and glass can pose a number of challenges. However, this is easy for the specialty sealant that is specially made to create an air and water-leakage-proof bonds with glass, ceramic, porcelain, and glazed tiles.
- These are usually made for clear drying so they merge with the glass, keeping the aesthetic appeal, and won't become an eyesore.
- They have good waterproofing properties, which are ideal for bathrooms, kitchens, and even exterior applications.
- It cures to form joints that are leakage-proof, and those with antimicrobial additives, minimise mould and mildew growth.
- Its flexible formula makes it elastic and crack-proof under expansion or contraction. It can also accommodate slight structural shifts in buildings.
- Perfect for use in construction or repairs as it quickly dries and cures without shrinking.
- Its resistance to common household cleaning agents gives this product durability and also makes maintenance easy.
Step-by-Step Guide: How to Apply Sealant to a Shower Enclosure
The Sealing Tools
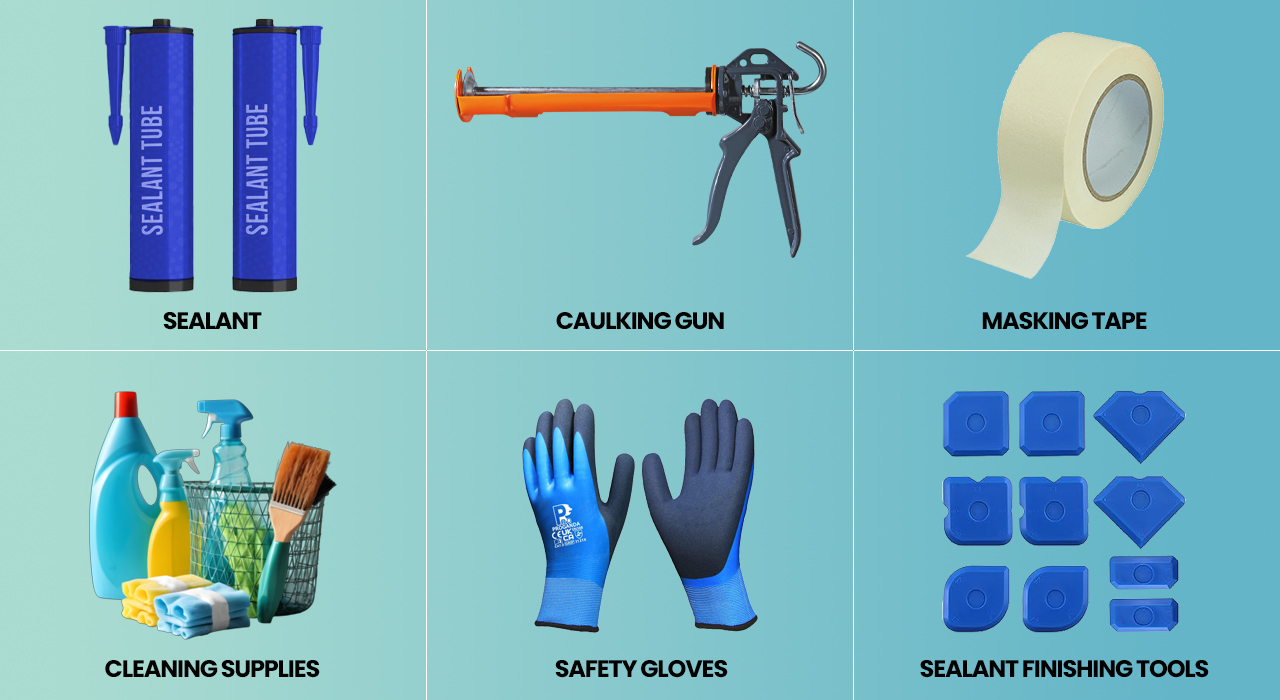
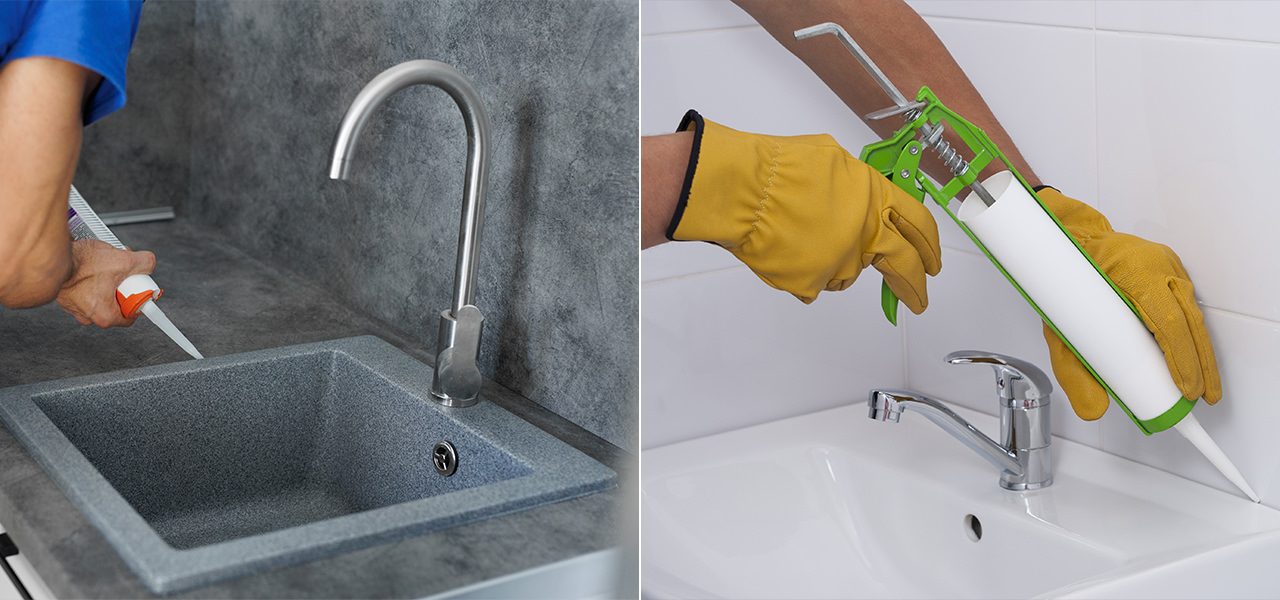
Sealing tools are critical to achieving a watertight seal and a clean, seamless finish. Arguably, the most important tool is the gun for precise application, as well as the tool for applying or removing excess sealant. It’s also best to keep rubber gloves, and some plastic disposal bags handy for the disposal of excess sealant. Listed below are the other necessary tools:
- Sealant (most appropriate for the job at hand)
- Caulking gun
- Masking tape
- Cleaning supplies (soap, alcohol, or specialized cleaner)
- Safety gloves
- Sealant finishing tool or finger for smoothing.
The Sealing Process
Step-1
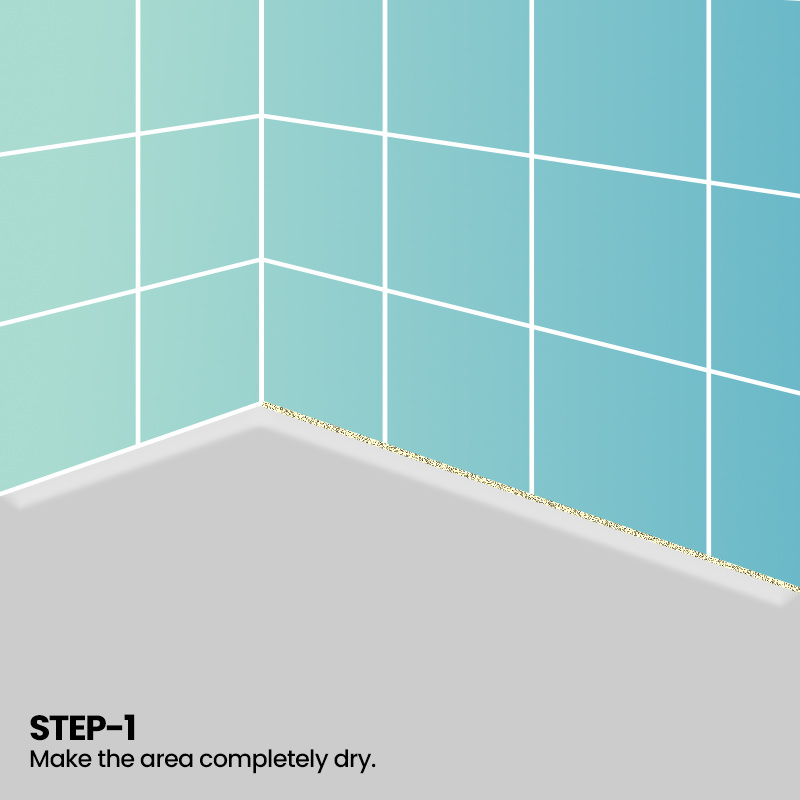
Before any applications, you must ensure that the substrate and surrounding area are completely dry. Make use of an exhaust fan or open the windows if necessary.
Step-2
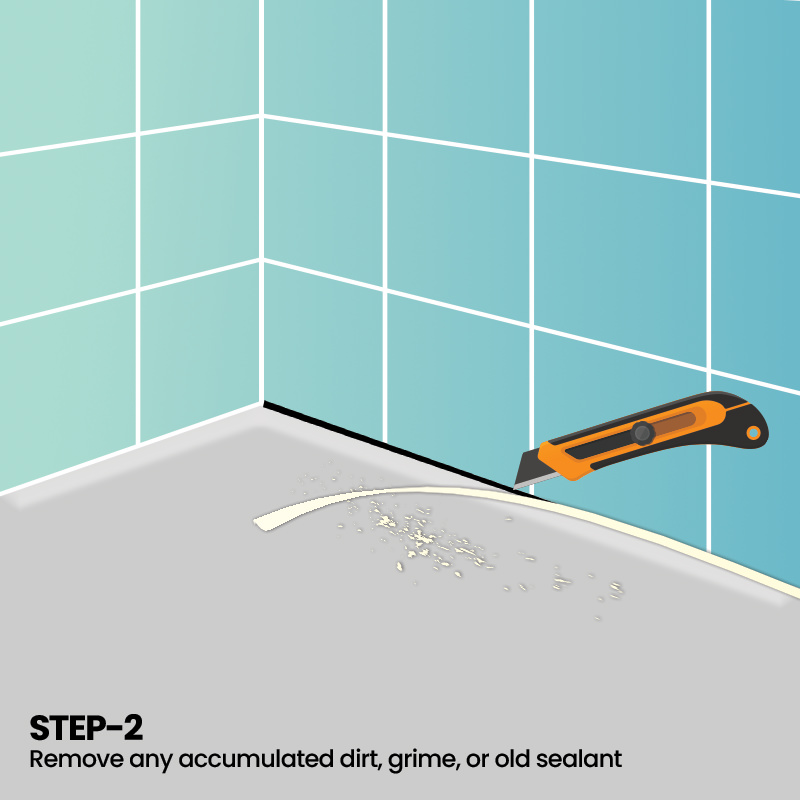
Next, clean the surface thoroughly by removing any accumulated dirt, grime, or old sealant. In case of resealing use a Stanley knife to remove the old sealant, you can also use a sealant remover. Be careful when cutting off the old sealant, as the knife may scrape the substrate surface. This will prepare the perfect substrate for the application of the new sealant and give a good hold.
Step-3
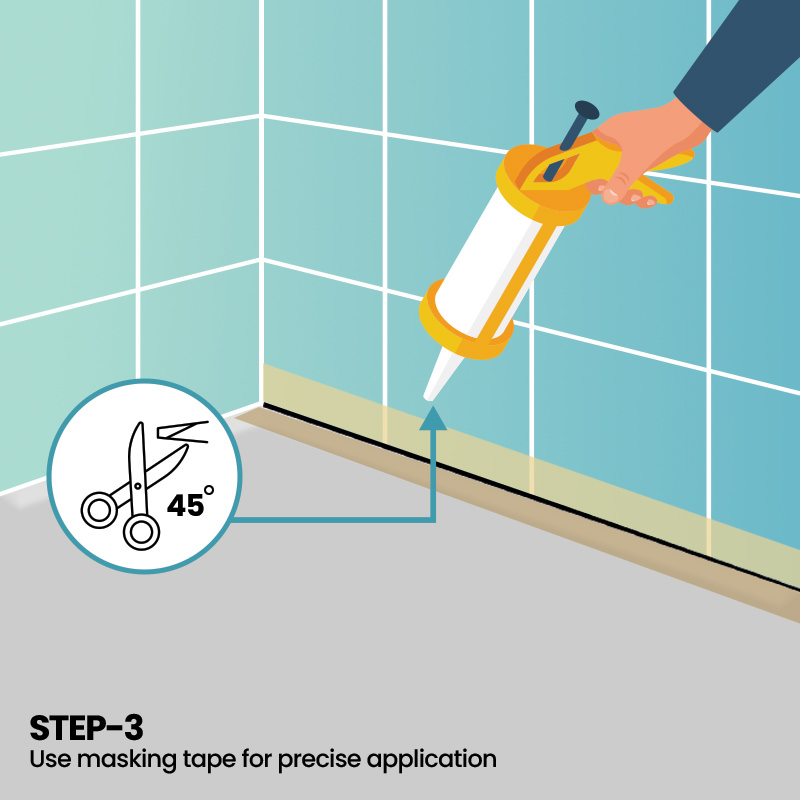
For a precise application, you can also make use of masking tape above and below the space that is to be sealed. The sealant can be applied to the gap between the two tape lengths.
The applicator nozzle must be of the right size to expel the right size of the sealant. When cutting the applicator nozzle of the sealant tube, cut an angle (mostly 45 degrees) that will enable much more precise application.
Step-4
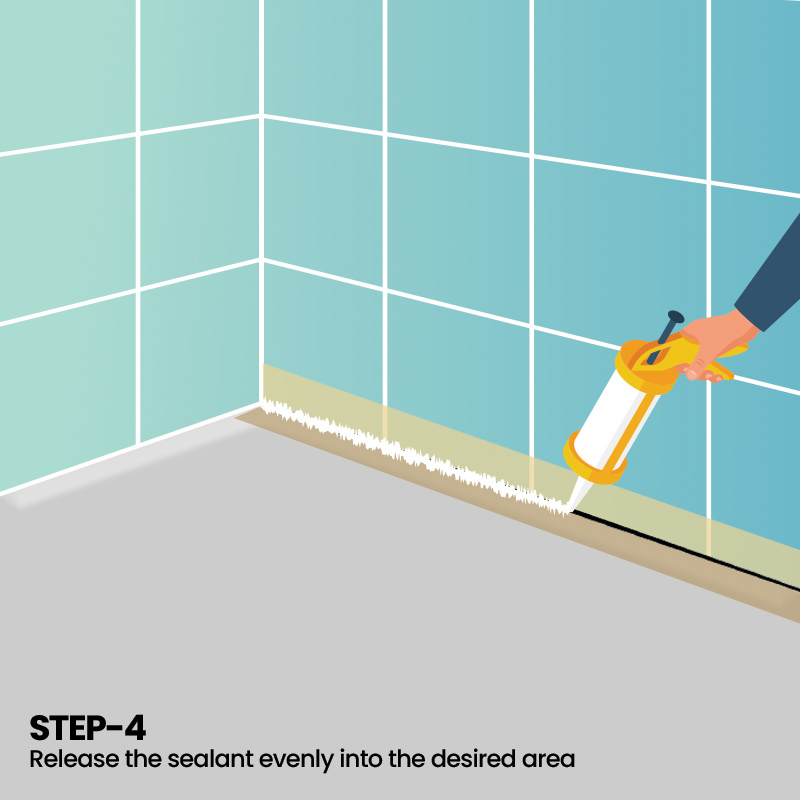
Make use of a caulking gun for easy application; insert the sealant tube into the gun. With a steady grip, release the sealant evenly into the desired area. Don't apply too much pressure as this may cause too much sealant to be expelled from the tube and create a sealant mess.
Step-5
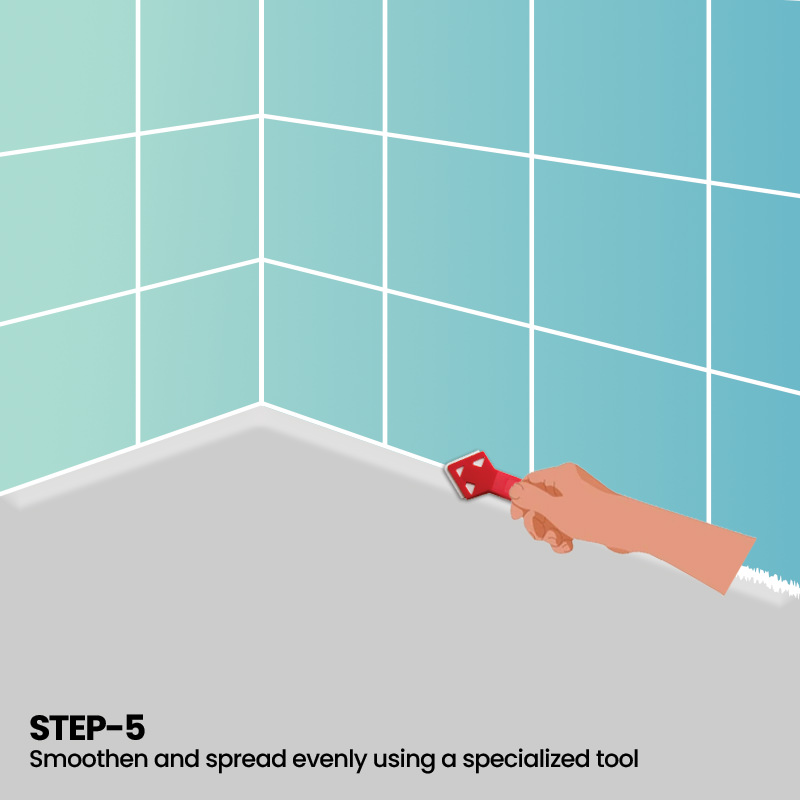
Smoothen and spread evenly using a specialized tool to enable a neat finish. Alternatively, you can also press down the sealant with your finger into the cracks, covering them completely in an airtight seal. Then, smoothen to remove any lumpy patches or gaps.
How To Re-Silicone A Shower by DFB

- It's a good idea to apply a second layer of sealant to the area you have already sealed.
- Let the sealant dry completely, following the drying instructions specified for the particular sealant. Most modern sealants will cure at a rate of 2-3mm every 24 hours or longer. For precise curing times, follow the instructions on the sealant pack.
- Before the sealant is dry, remove the masking tape. Also, clean any sealant that may have spilt where not needed to ensure a neat finish.
- Make sure you do not use the shower or wet the sealant before it is cured for it to be effective against water.
- Dried excess sealant can also be sanded down or scraped with a cheese wire or a sharp knife.
- You can follow the above steps to completely seal any bathroom fixture that needs a watertight seal.
Maintenance and Aftercare
- It is prudent to follow a regular cleaning routine to prevent the build-up of mould, mildew, and soap scum, that can cause the degradation of sealant.
- Limit the use of harsh cleaners or abrasive tools that can damage the sealant or render it ineffective. You can inspect the sealant on a regular basis to check for any signs of wear-and-tear, damage, or mould/mildew growth.
- If any issues are observed, reapply the sealant as needed to maintain a watertight seal. Be prompt in correcting any leakage issues or mould growth.
When sealing shower enclosures, the right sealant is key to a professional, lasting finish and can bring great results even to a DIY project.
Recommended Products for DIYers
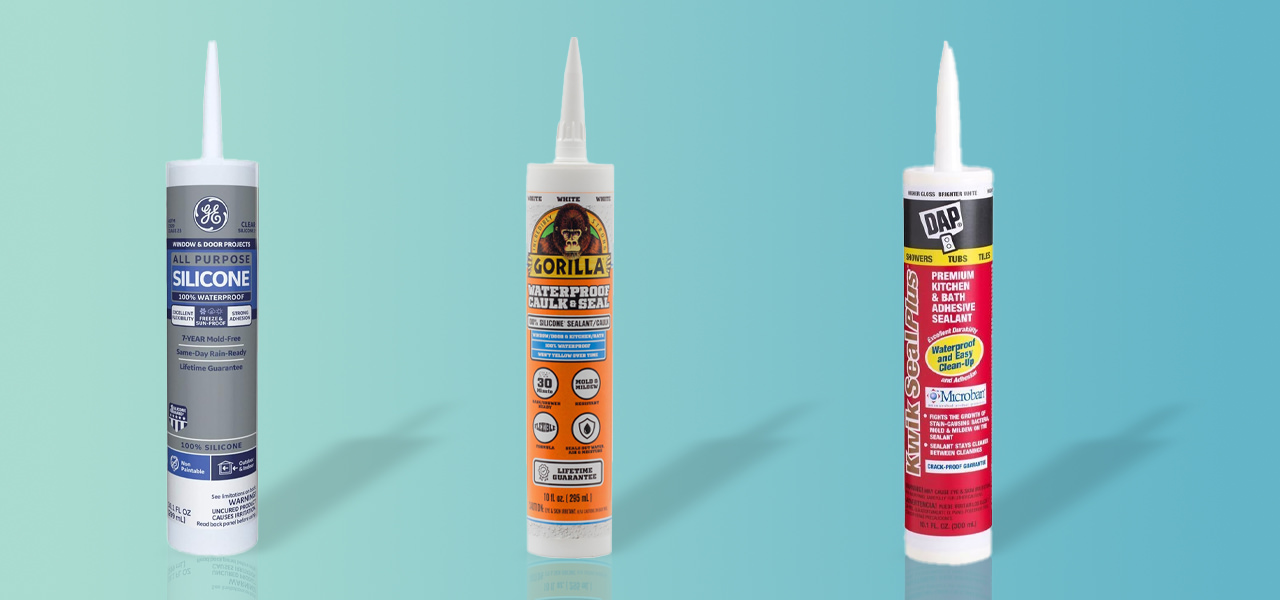
Some products recommended for DIY projects for the best results are:
- GE Silicone II - Flexible and waterproof
Formulated with 100% silicone, very flexible, cures rapidly and is also mould-resistant. - Gorilla Waterproof Caulk - Good bonding and durability
This is a hybrid polymer, which is weather-resistant and bonds to different substrates. - DAP Kwik Seal Plus - Pocket-friendly & Hygienic
Siliconized acrylic, paintable, easy to use, low odour, anti-fungal formula. Very affordable.
Conclusion
At the very core, a shower enclosure is a showering area enclosed in a manner which separates it from the rest of the bathroom. This modern fixture can impact the bathroom dynamic unlike any other; that's why, during its installation, sealing is of special importance to keep water contained within the enclosure. The overall success of "Sealing" involves a number of considerations, from homing in on the right sealant to its correct application and regular maintenance so as to get a long-lasting, waterproof shower enclosure.
Also, check out our Blog on "how to clean a shower tray" for more ideas.