Maintaining a clean shower tray is crucial for both functionality and hygiene of your shower enclosure. Over time, shower trays can accumulate soap scum, mineral deposits, dirt, and grime, particularly in areas with hard water. This build-up can not only make your tray look unsightly but can also lead to issues like wearing down of the tray surface and potential clogging of the drain. Such an accumulation can also irreversibly damage the tray and any of its components and reduce its lifespan. Shower trays can also face leakages, cracks, stains or discolouration, mould and mildew growth, or degraded anti-slip surface coatings.
Regular cleaning of the tray keeps it in good condition, taking away the need for repairs or replacements. Also, to ensure overall showering hygiene, it's best to clean the shower tray regularly. It also retards the potential issues that can affect its appearance or hygiene, maximising performance and extending its lifespan. Now that we have seen "why" we need to clean, let's see "how" that's done in the most optimal way.
Natural or Chemical Cleaners
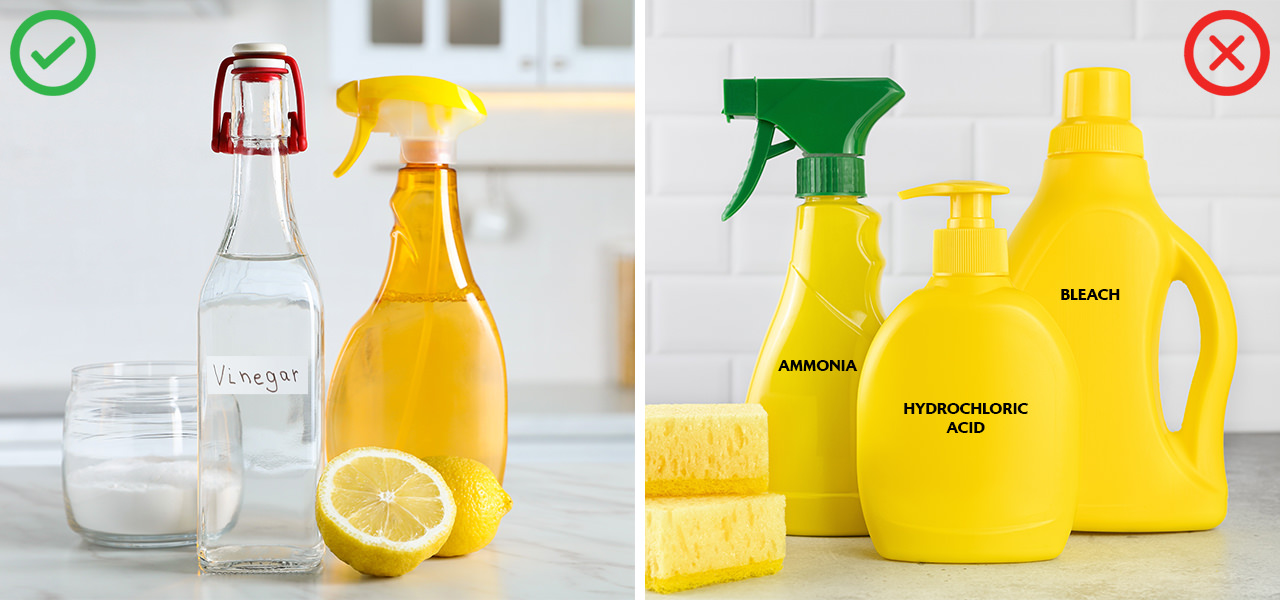
Cleaning solutions can be natural or chemically manufactured specifically for the cleaning process. Natural cleaners such as vinegar and citric acid are naturally derived and have a low environmental impact. These "eco-friendly" or "green" products are just as effective as chemical cleaners. Natural cleaners are safe to use, especially in households with children or pets.
Although a rarity, some natural substances may not be suitable for certain kinds of tray materials. Certain chemical cleaners can be too harsh, causing cleaner damage. It's best to select a mild cleaning solution or one made especially for cleaning a particular material. Chemically made or naturally derived are both equally effective in getting the desired results. Just ensure you avoid abrasive chemicals such as ammonia, bleach or hydrochloric acid as they can do more damage than good. Many are known to damage the appearance and even permanently stain the surface.
Cover-Up

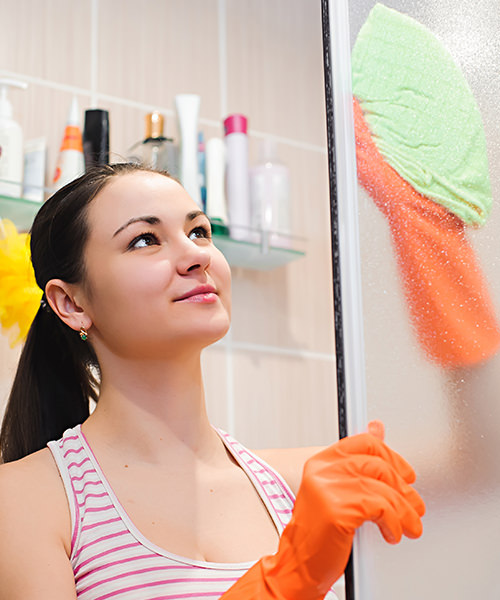
Whether you are using a mild cleanser or a vinegar solution, it always helps to wear protective gear like gloves and masks. Gloves protect hands from harsh cleaners, both natural and chemical, as well as bacteria, mould and other pathogens on the tray surface. Wearing masks will keep you protected from dust as well as chemical odours. Covering up adequately will also shield against stains and effects of corrosive substances.
Cleaning Supplies and tools
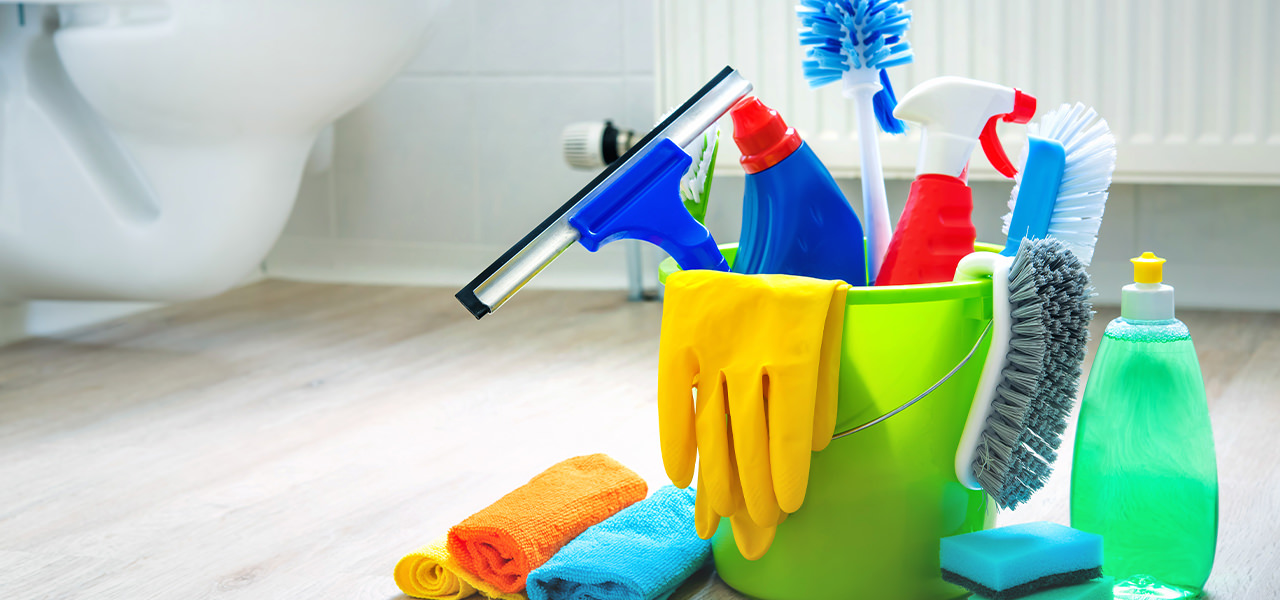
Cleaning supplies and tools allow you to quickly work through the process without the need to call in any professional help. You will need:
- Soft cleaning brush or non-abrasive sponge
- White vinegar
- A mild limescale remover liquid
- Mild bathroom cleaner
- Mild Soap/detergent
- Baking soda
- Microfibre cloth
Do not use scourers as they can damage the shower tray surface. Along with the tray, make sure you also clean the grille to avoid soap and limescale residues. Grilles respond well to cleaning products designed for cleaning stainless steel or metal. When using henna or hair dye, ensure you rinse the shower tray with plenty of running water and even detergent and water.
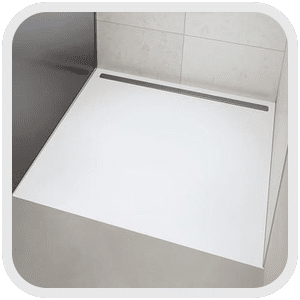
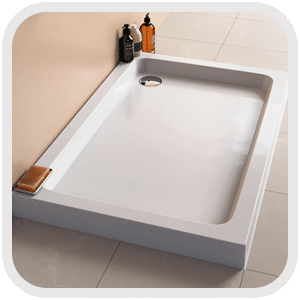
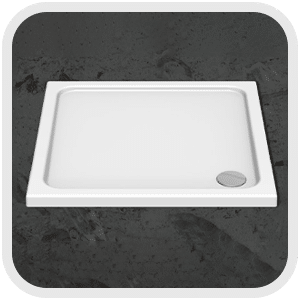
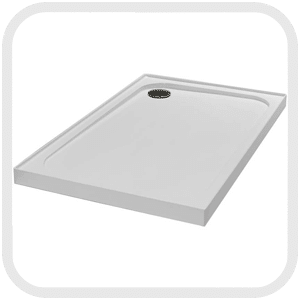
Types of Shower Trays:
Shower tray makers use all kinds of materials to manufacture these essential showering units. Each material imparts a distinct feature, quality, durability and aesthetic to the tray. Whether you have a square, rectangle or quadrant shower tray, the general cleaning procedure is the same for all of these materials.

Stone Resin Shower Trays:
Stone resin is one of the most common materials in the manufacture of shower trays as it is extremely durable.
Steel Shower Trays:
These stylish steel trays are made from enamelled steel, which makes them a robust and long-lasting choice for any bathroom setting.
Acrylic Shower Trays:
Acrylic trays are lightweight, easy to install and cost-effective.
Acrylic-Capped Stone Resin:
These trays are as light as acrylic and as durable as stone resin. They feature an acrylic surface with a stone resin core, for extreme durability and easy handling.

Ceramic Shower Trays:
Ceramic shower trays are traditional, hard-wearing, and long-lasting.
Fireclay trays:
Fireclay trays are hardwearing, heavier than acrylic trays and resistant to stress, stains and chemicals.
Cleaning and Maintenance
Dealing with initial installation residues
After installation, you may notice cement or mortar residue on the tray surface that may require a one-time cleaning to keep the surface smooth and sparkling clean. For this, we recommend using a joint descaling liquid or a specific cement cleaning agent.
Dealing with issues arising from regular use
With regular use, a shower tray can suffer a number of potential problems that can compromise its performance and, in some cases, may also pose safety risks. For starters, keep the tray in good condition; ensure that the tray is completely dry after each use to prevent accumulation of limescale and soap deposits.
A regular cleaning regime can reduce the onset of many of these problems and is also imperative for preserving the integrity and appearance of your shower tray for years. To clean the tray, you, therefore, need to remove the build-up.
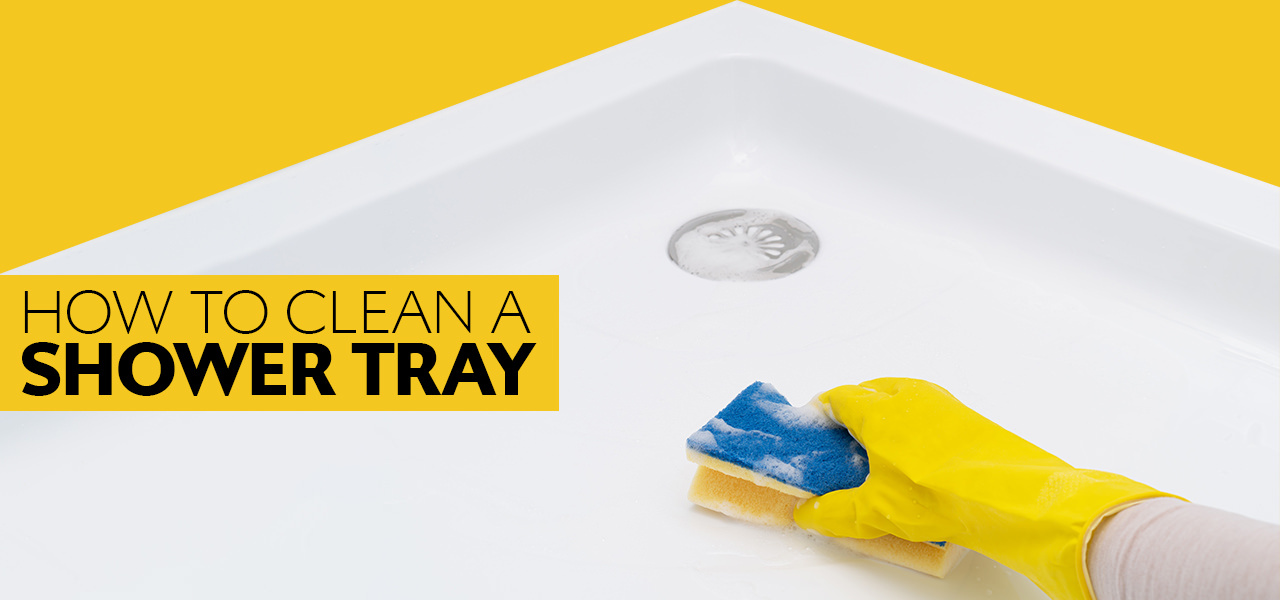
Steps in the Cleaning Process:

Step 1 - Initial Rinse:
Allow warm water to run through the shower tray to dislodge any surface dirt and boost the cleaning process.

Step 2 - Apply Cleaning Solution:
Apply the cleaner of your choice evenly across the shower tray. For stubborn stains and limescale, you can use a baking soda paste made with vinegar, lime juice and baking soda.
This potent mixture can also get rid of any old rust marks and give you a sparkling tray. Allow the solution to sit for some time for it to start working on the dirt and deposits.

Step 3 - Scrub Gently:
As with any purposeful cleaning, the next step is a gentle scrubbing of the tray surface with the use of a soft brush or non-abrasive sponge. Remember not to get overzealous with the scrubbing as it can potentially do more damage than good.

Step 4 - Rinse Thoroughly:
Then, you must remove all traces of the cleaning liquid. Ensure no residue is left behind so as to prevent any cleaner build-up.

Step 5 - Dry and Inspect:
Use a microfibre cloth to thoroughly dry the shower tray. Open any windows in the bathroom and/or switch on extractor fans to hasten drying. Inspect the tray for any missed spots or stubborn residue that may not have been dislodged. If necessary, repeat the cleaning process for these areas.
Here are some natural yet potent mixtures that you can prepare yourself to remove specific problems.
- Regular maintenance of tray with no problems- Plain Soap and water
- Yellowing or discolouration- Water and diluted acetone
- Limescale and rust marks-Lemon or white cleaning vinegar
- Soap Scum-Vinegar and detergent
- Lime scale-White vinegar, warm water and baking soda
- Hair dye stains-Water and diluted acetone
While we have discussed effective methods for tackling different problems, a regular cleaning regime is highly suggested to nip any potential problems in the bud.
With trays in beautiful styles and quality materials, with a variety of models such as square shower trays, quadrant shower trays and rectangular shower trays, find your preferred choice from our outstanding ranges. From acrylic and steel to stone resin and many more, get them in the material that fits your budget and decor.