What is a wet room?
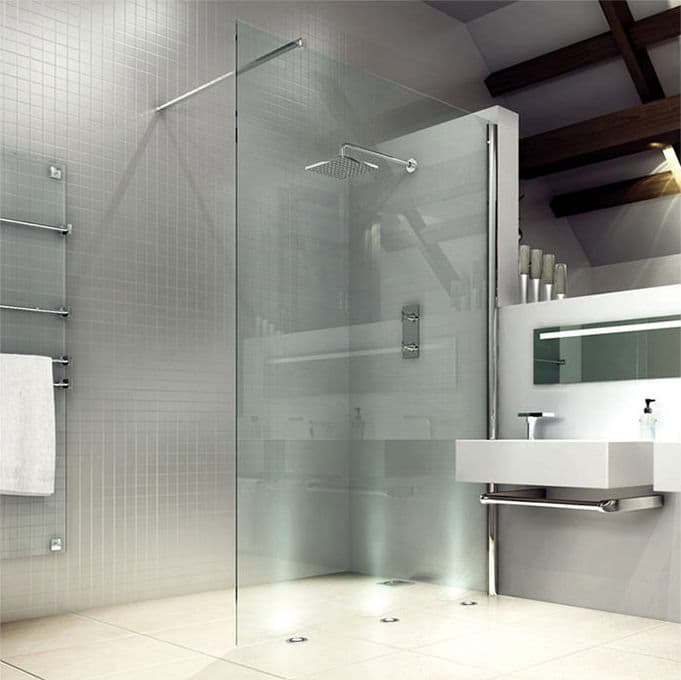
A wet room is a stylish alternative to a traditional bathroom. It’s a fully waterproofed, open-plan walk in shower area that’s usually tiled from wall to ceiling and sealed with a waterproof membrane to prevent leaks and damages.
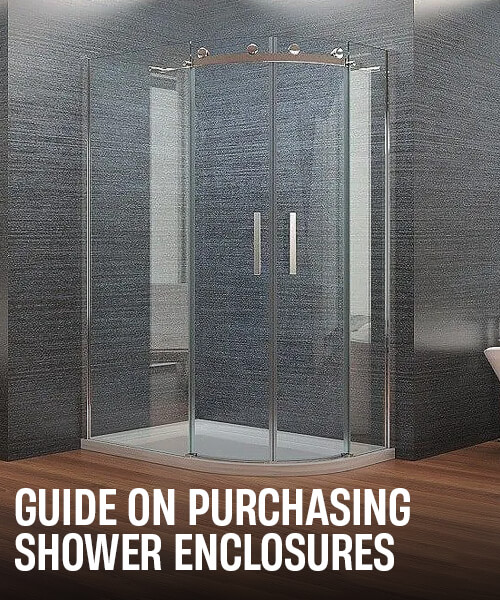
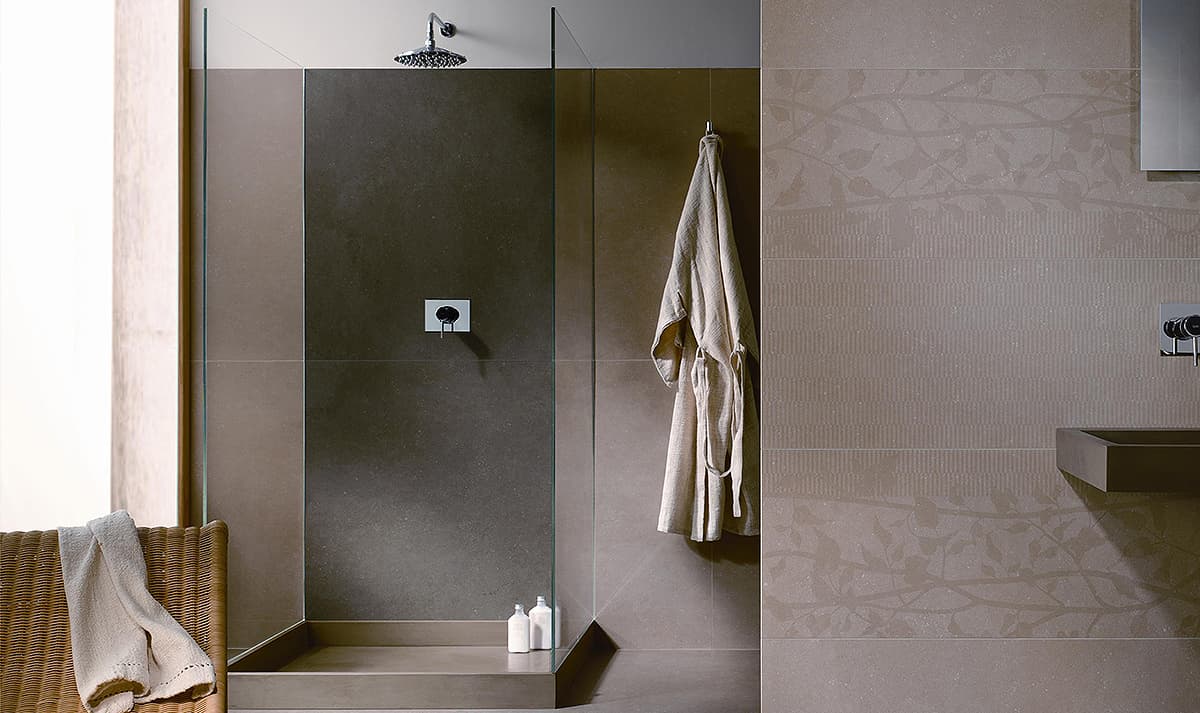
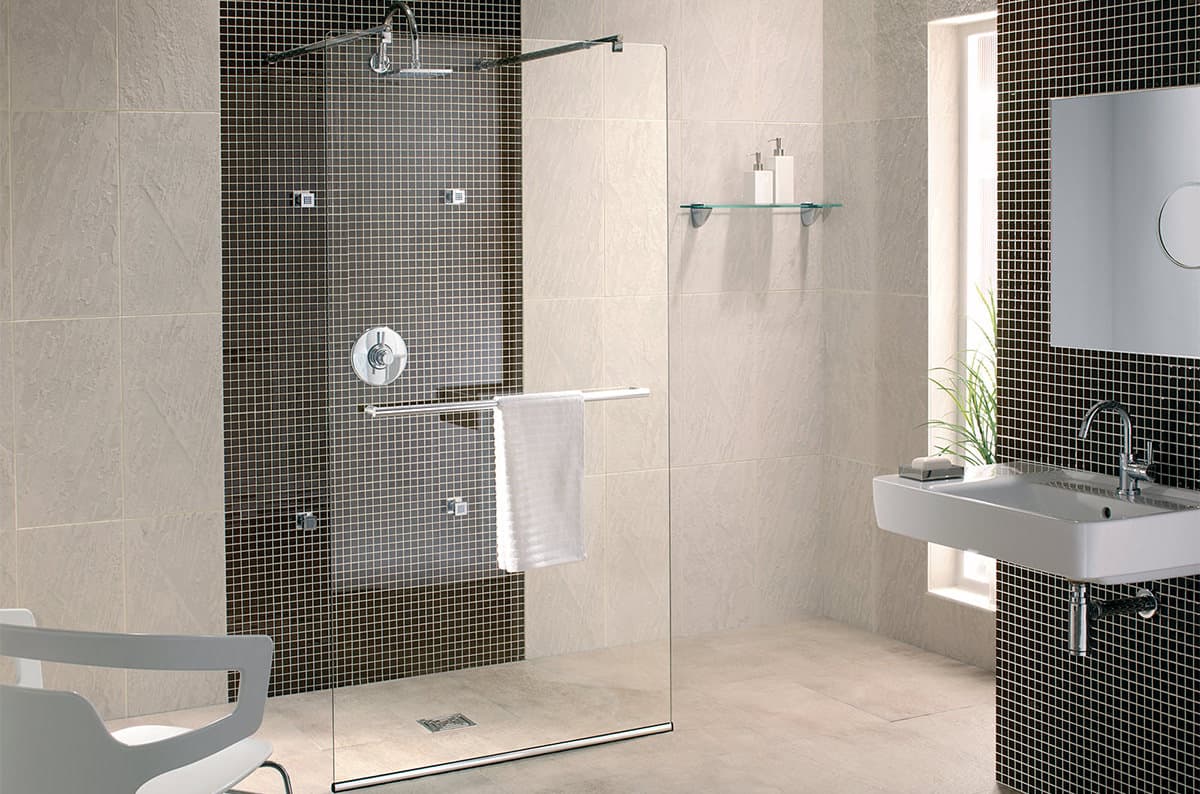
Wet rooms need a sloping floor, which helps guide excess water towards a drain. Or you could go halfway to creating your own wet room and build a walk-in show with its own shower tray. Some wet rooms use a glass partition in front of the shower to stylishly break up the room and prevent excess splashing. After all, no one likes sitting on a soggy toilet seat!
Wet rooms have risen in popularity over the last decade, offering a safer, cheaper and more effective form of showering. Plus, having a wet room can be a great way to add value to your property.
Benefits of a wet room
As well as being a fashionable addition to your house, there are plenty of advantages to creating a wet room:
- The open-plan layout is well-suited to those with limited mobility. With no doors or steps to negotiate, it’s a safer and more accessible showering environment for the elderly and disabled.
- With minimalist and durable, hard-wearing designs, well-maintained wet rooms can last longer than traditional bathrooms.
- Wet rooms are easier to clean. The simplest designs have no shower screen or tray to wash or clean out; just the tiled surfaces to clean and look after.
- By showering instead of using the bath, you’re saving on water consumption, lowering your bills and creating a smaller carbon footprint.
- A wet room can make more efficient use of your bathroom’s space, especially if you have a small or odd-shaped bathroom and you’re struggling to find the right place for a shower cubicle or bath.
- Wet rooms aren’t just functional and good-looking - they can bring extra value to your property. Adding a wet room as a second bathroom or en-suite can boost the value of your house by £12,000.
How to create a wet room?
When planning a wet room, the key factors you need to think about are the room’s access to water, power supply and drainage points.
One of the keys to efficient drainage is getting the flooring right.
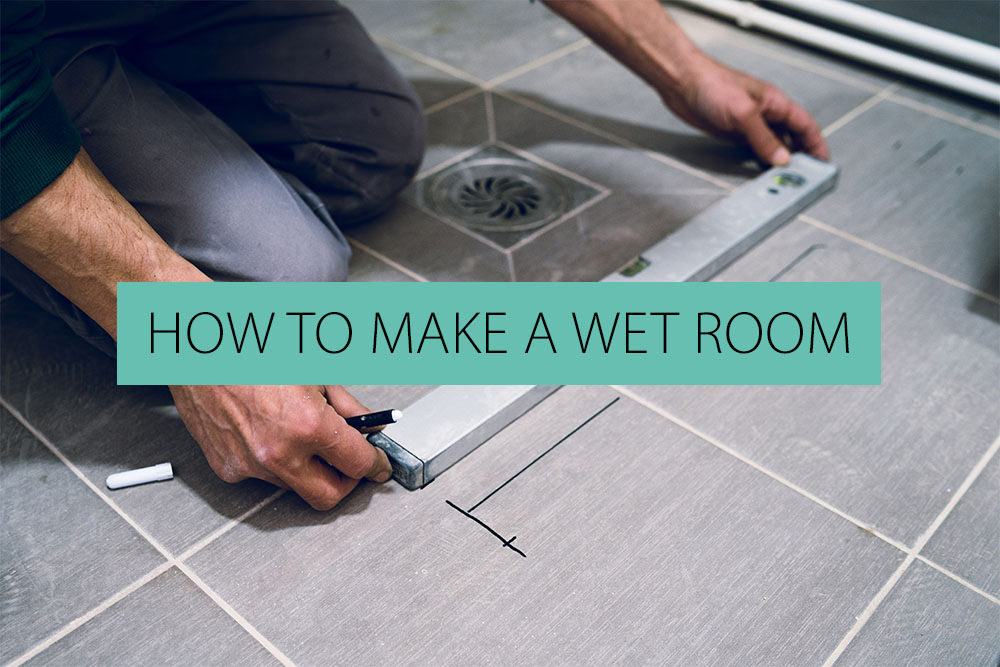
- To ensure the wet room drains properly, the bathroom needs to have the right degree of slope on the floor leading to the plug hole, trap and drain at the lowest point in the bathroom. One of the easiest ways to create this is to build a sub-floor which is then tiled, effectively creating a second layer of flooring. Alternatively, you can use a ready-made, pre-sloped shower former which is then tiled to create an extra waterproof barrier.
- You’ll then need to waterproof your wet room, also known as tanking. Due to the open-plan nature of a wet room, water can – and most likely will – splash into most areas meaning the entire room from floor to ceiling needs to be properly prepared and treated. Several coats of primer need to be painted or brushed on to ensure the area is dry, dust-free and firmly sealed.
- Once the primer has dried, the next step is to layer a thick, syrup-like tanking membrane over the floor. Wooden floors will need a thicker coating than concrete as a further layer of insulation and waterproofing.
- The penultimate step is to layer waterproof tape over the joints in the room. Layer the tape from the bottom up across vertical and horizontal joints for an even better waterproofing system. The waterproof tape should be self-adhesive and flexible to ensure a smooth fit and one that can adapt if the wall moves or expands over time.
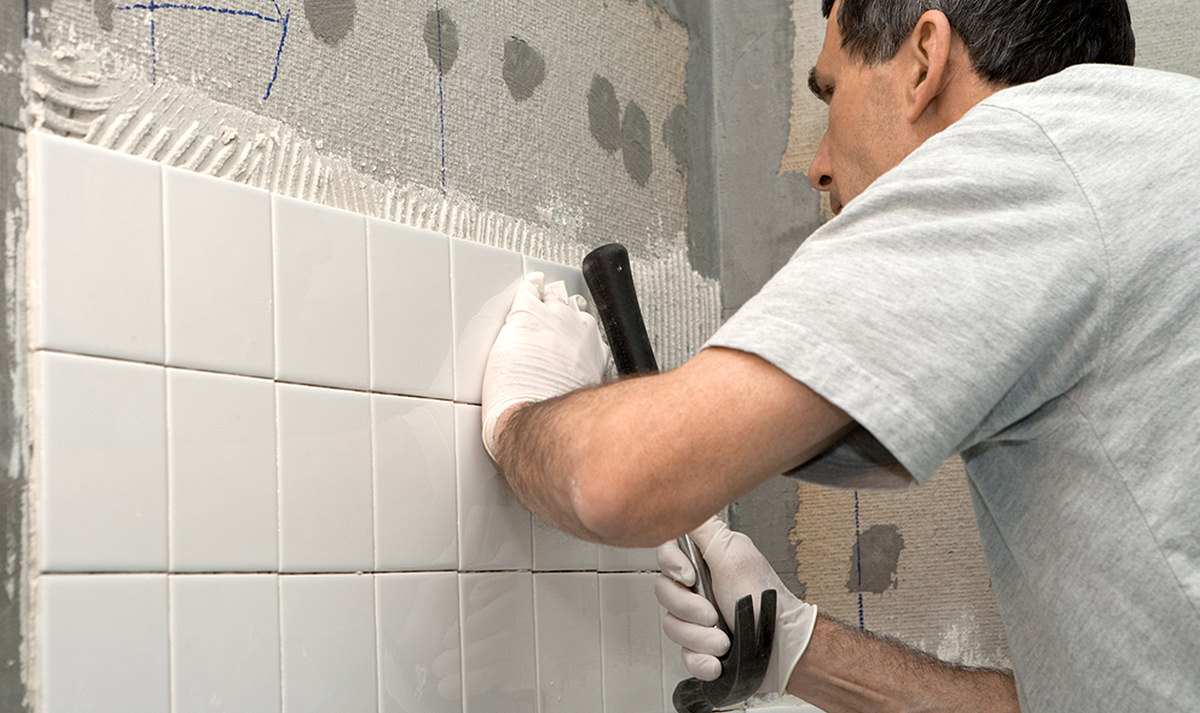
- Finally, tiles can be securely laid down as the final waterproof barrier and your shower unit can be fitted and sealed.
Choosing the right style and make of tile is crucial. As well as getting the right look, size and style for your wet room, you need to consider their texture when wet and dry. Good options to look for are resin, ceramic and porcelain tiles. While slate, marble and limestone tiles might seem appealing at first glance, they will require re-sealing several times a year.
Where possible, minimise tile cutting to ensure a smarter finish and more secure waterproofing. One way to help keep tile cuts to a minimum is to plan ahead and know where your drainage point will be.
Use a rapid-set adhesive or grout across all the tiling area rather than the dot-and-dab technique and avoid silicon-based waterproofing as the silicon membrane may disintegrate over time. Be extra vigilant when placing the tiles as any cuts into the waterproof membrane will reduce its effectiveness.
If cost is a priority, you could consider using vinyl flooring. Not only is it slightly cheaper, but it’s also a softer, more slip-resistant material which is useful if young children or the elderly will be using your wetroom. There’s a much wider choice of colours and styles than stone and it’s also easier to clean.
How much will it cost?
As a rough guide, installing a wet room may cost between £3,000 and £10,000 and depends on several factors including the size of the area that needs to be waterproofed.
Another primary expense is labour: the more work you can do yourself, the cheaper the final wetroom will be. It’s important to note that there are some tricky skills needed to build your wet room including laying the tiles, grouting, creating the sloped floor for drainage and repositioning any pipeworks or electrics to make way for the sloped floor. So consider how far your DIY skills will get you before bringing in a professional to finish the job.
The price of the floor-to-ceiling tiles is likely to be one of your largest expenses. You’ll also need to factor in the costs of your specific shower unit, a shower partition or screen if needed and the cost involved for preparing the floor, tiling, grouting and tanking your wet room.
One extra expense to consider is electric underfloor heating. There can be few better luxuries than stepping into a heated wet room in the middle of winter, and as a bonus, it will also help dry out any excess water on the floor and prevent damp problems.
Summing Up
Know why you’re building a wet room, what you want to use it for and thoroughly scope out the proposed room to make sure it can withstand the extra weight and can be effectively waterproofed. Plan where the shower will go, how far the shower splash will reach, where you’ll need storage space and the look and feel of the wet room. The key to an excellent wet room is being well-prepared and thorough.
With so many variables in a wetroom including size, the quality of the finish and labour costs, setting a budget and sticking to it is vital.
Beginners and novice DIY builders might struggle to tackle a wet room as one of their first projects, but more experienced DIY enthusiasts should be able to address the bulk of the work. If in doubt, ask for expert help - the costs of fixing a badly-fitted wet room will cost as much as the original install.
As well as being an efficient use of space, a wet room is a stylish addition to a home, perfect for those with mobility issues. And long-term, it can add value to your property, making it a sound investment.
